When we use WordPress, it automatically sets some stuff for us, like the language of the webpage. But sometimes, even though we write our content in one language, WordPress sets the language of the webpage based on the language we use in the WordPress admin area. For example, let’s say you write your blog posts in Hindi, but you use WordPress in English. Normally, WordPress would still say that your webpage is in English. This can cause some issues, especially for things like SEO (making sure your website shows up well in search engines).
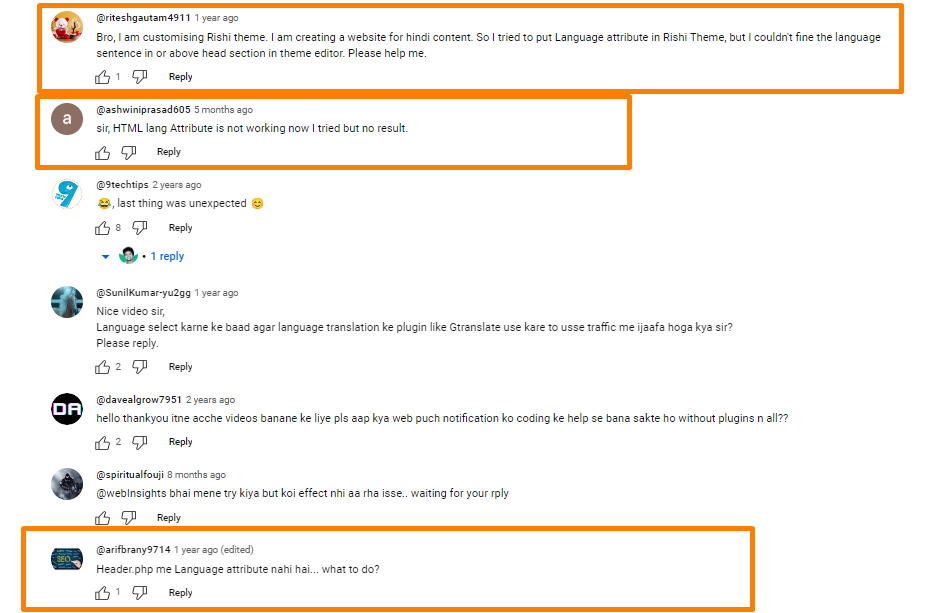
We have noticed individuals encountering difficulties when attempting to modify the HTML language attribute. In the comments section, there have been multiple inquiries and requests for assistance regarding this matter. Below, we will be attaching a screenshot illustrating these instances where users seek guidance on changing the language attribute.
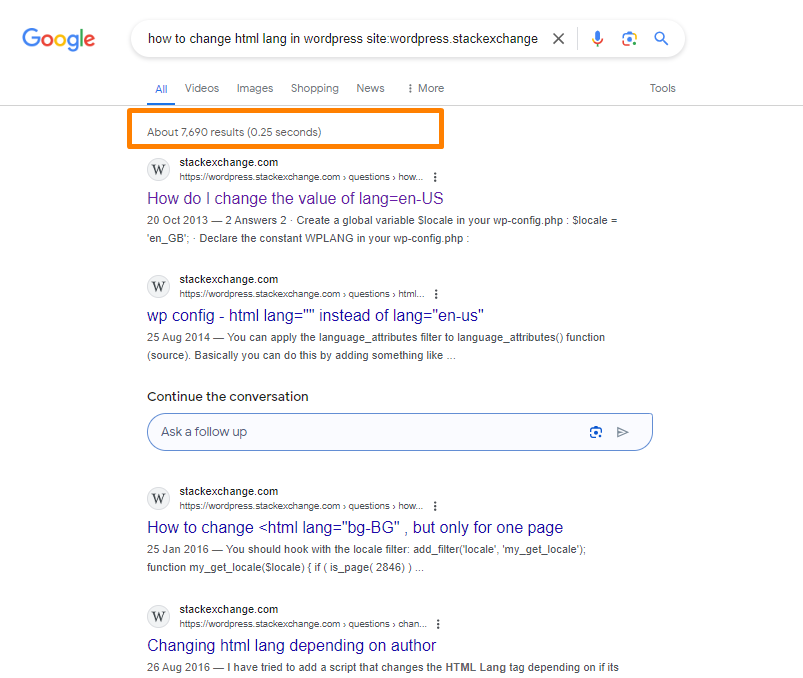
People searching for this query – How to change HTML lang in wordpress site can find results below:
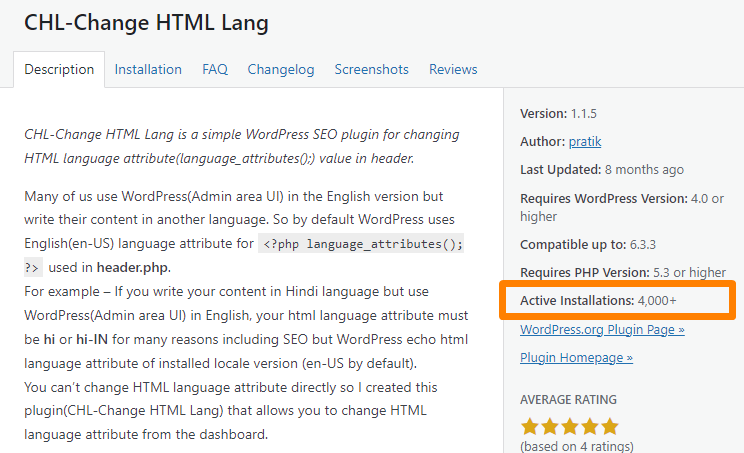
To resolve this, the CHL-Change HTML Lang plugin allows users to adjust the HTML language attribute directly from the WordPress dashboard. The plugin is compatible with WordPress version 4.0 or higher and has been thoroughly tested with version 6.3.3. Additionally, it has been installed by over 4000+ active users. After installation and activation, users can navigate to the Settings menu and access the General section to modify the language setting for their webpage. This simple adjustment ensures that search engines and other tools recognize the correct language of the content, enhancing SEO and overall website performance.
How To Install CHL-Change HTML Lang Plugin? Step By Step Guide
From start to finish, find the below steps for easy installation of the plugin:
- First, go to your website’s admin area.
- Select “Plugins” from the menu, followed by “Add New” to proceed.
- In the search bar, type in “CHL-Change HTML Lang” and hit enter.
- When you see the plugin, click on “Install” and then on “Activate.”
- After activating the plugin, go to the “Settings” menu and select “General for changing HTML lang = EN-IN”
OR
- Again, go to your website’s admin area.
- This time, click on “Plugins” and then choose “Add New” from the menu.
- Instead of searching, you’ll upload a file. Click on “Upload Plugin” and choose the file called “chl-change-html-lang.zip” from your computer.
- After uploading the file, proceed by clicking “Install Now,” and then activate the plugin.
- Now, just like before, go to the “Settings” menu and select “General for changing HTML lang = EN-IN“
In either method, you will end up on the “General” settings page, where you can change the HTML language attribute. Here, we have assumed EN-IN as the language.

You can also refer to the below source code for a better understanding of where the HTML language attribute is changed:
Find the Plugin here: CHL-Change HTML Lang
Conclusion
The CHL-Change HTML Lang plugin simplifies the process of adjusting HTML language attributes in WordPress, ensuring alignment between content language and webpage language settings.
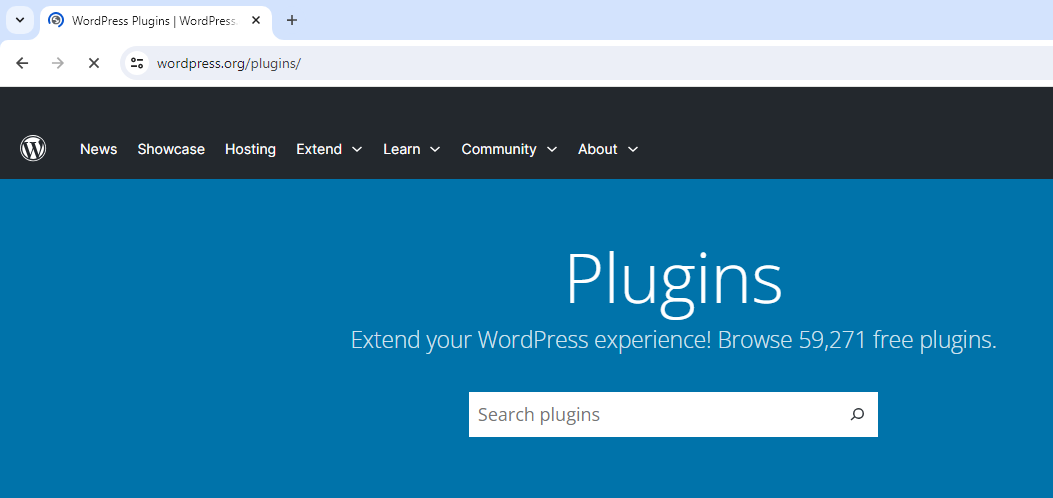
Out of over 59,270 free plugins in WordPress, there is only one plugin – CHL that stands out for supporting the change of HTML Language ISO Codes.
Users can easily install and activate the plugin via the WordPress admin area, then navigate to Settings → General to modify language settings. Whether using the plugin search feature or uploading the plugin file directly, the process remains straightforward. By offering this functionality, the plugin facilitates enhanced SEO performance by accurately representing content language, with the reference language assumed to be EN-IN for your convenience.
Dive Deeper Into:
How To Create A Highly Profitable Online Store With Shopify?
5 Must-Have WordPress SEO Plugins for Improving Website Rankings

